The Shave Dial Explained
Congratulations on switching it up.We like to reward the curious and the brave around here. So, here's a link that'll give you 25% off your next order of Black Label Blades: Get Your DiscountRead on. Switch up your setting. Love your shave.The discount will be automatically applied after you add your blades to the cart.
The Supply Pro is one of the most customizable safety razors on the market. It gives you complete control of your shave with 6 main settings and 30 micro-settings. You can make your shave as aggressive or mild as you want without the razor ever leaving your hand.
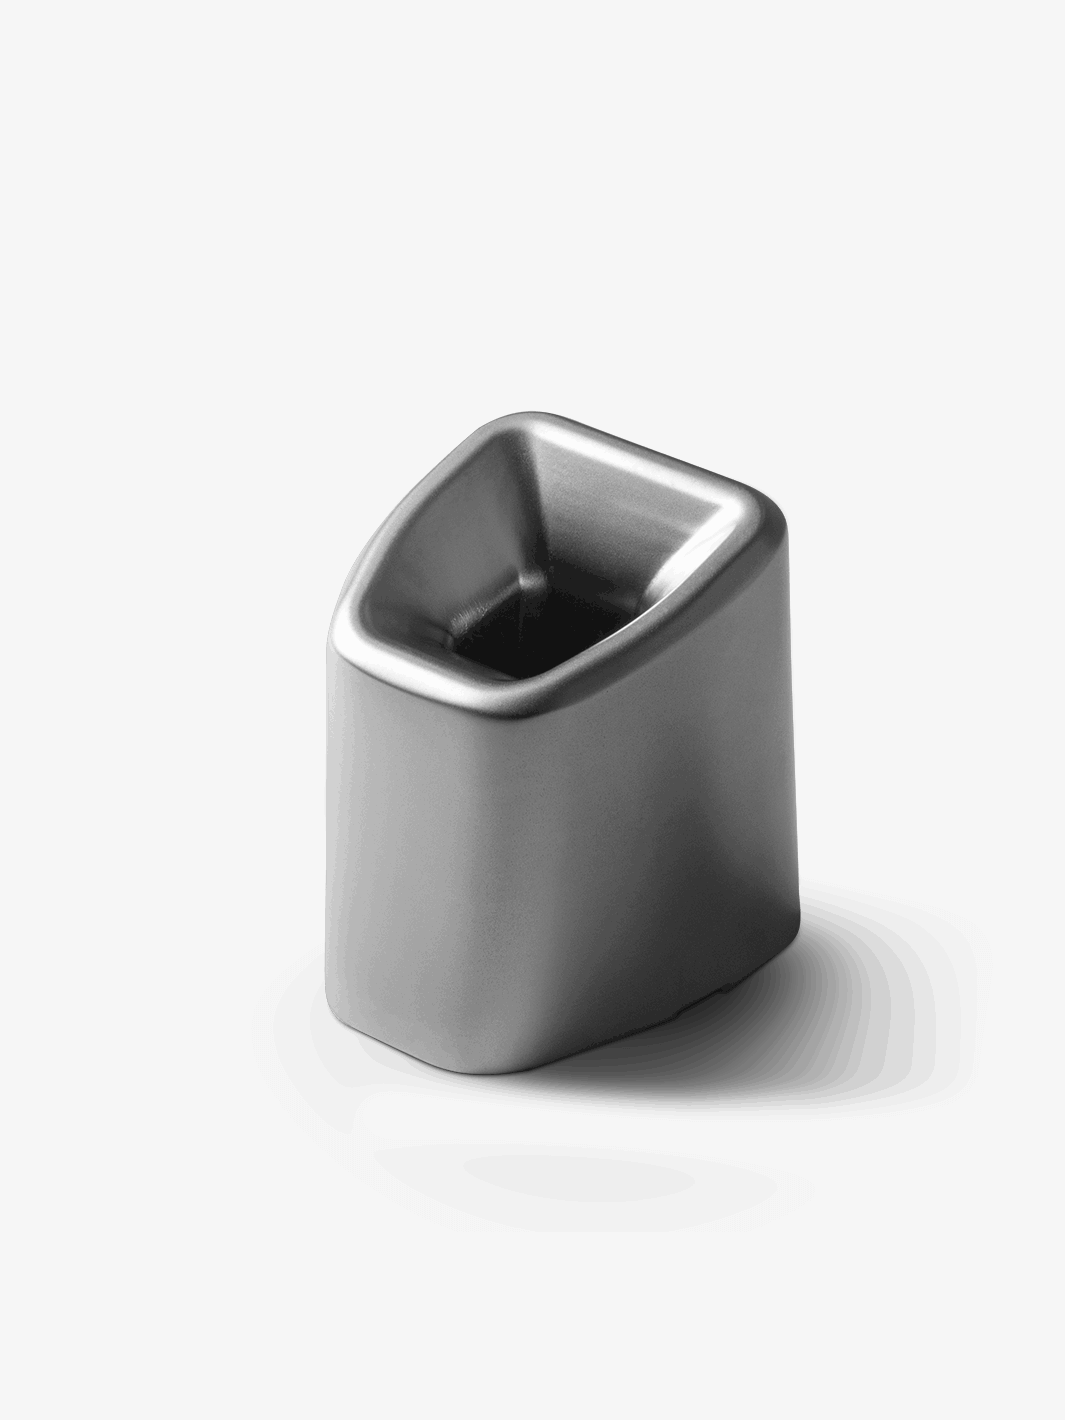
How did we do it? Our Shave Dial. This tiny cylinder is made of the same metal as the handle of the Pro. All it takes to move it from one setting to the next is a small move of your thumb.

But choosing the right setting is a key step in getting the best shave. Here’s how you can dial in your Pro shave from the first pass.
The Dial
The Dial on the Pro moves the safety bar up and down, increasing or decreasing the blade exposure. Blade exposure is the space between the safety bar and the blade.
The more exposed the blade is, the more aggressive the shave will be. More blade exposure means the blade comes in closer contact with your skin. This means more hair is allowed to reach the blade at one time.
Less blade exposure means the blade doesn’t make as much contact with your skin. Less hair is allowed to reach the blade at one time, leading to a milder shave.
The numbers on the dial represent blade exposure. 1 is the least amount of blade exposure. 6 is the most.
There's only .7mm of space between the 1 setting and 6 setting. This means changing from the 1 setting to the 2 setting will only move the blade .11mm and so on for each setting up the dial. This is a tiny amount of adjustment that makes a huge amount of difference in the feel and closeness of your shave.
How do you know which setting to use?
The settings are marked 1-6.
1 is the most mild setting.
6 is the most aggressive.

There are six main settings with 28 micro-settings between 1 and 6. You have the ability to choose exactly how you want your shave to feel.
We recommend starting with the 1 setting, especially if you have sensitive skin or you’re just starting with a safety razor. It’s the most forgiving, but it will still give you a close shave. If it’s too mild for you, you can always move up.
If the 1 setting doesn’t shave as close as you want, or if it just feels too mild for you, move up to the 2 or 3 setting. They will shave closer than the 1 and will allow you to feel more of the blade on your skin without being too aggressive.
Once you get a feel for the technique, or if you’re already a wet shaving veteran, move up to the 4, 5 or 6. You’ll get the aggressive feel and BBS shave you want.
One Shave, Multiple Settings
We think you’ll use multiple settings while you shave. The milder settings are great for more sensitive or hard to navigate areas (under the nose, the jawline, etc.). The more aggressive settings will give you a smooth shave on the first pass on places like your cheeks and down your neck.
Adjusting your setting is as easy as moving your thumb up and down. So, switching mid-shave is no problem.
Make the Switch
If you're tired of being locked into manufacturer settings, then it's time to go Pro. Your beard map is different from almost everyone else's, so why should you use a razor that doesn't let you shave the way your beard demands? The Pro will give you the control and customization you need to get the shave you want every time.
It doesn't matter if you have the most sensitive skin or your beard hair is made of steel wool, your best shave is waiting on our dial.